Saturday, December 24, 2011

Singin' Saturday (Christmas Edition Part 3)

Monday, December 12, 2011

Munchin' Monday

Apple Pork-N-Pie

***This is a Crock Pot Meal. It is so delicious, easy, and cheap to make****

What you'll need:
Pork Chops
Peeled & Sliced Apples
 Sugar
Flour
Cinnamon
AllSpice
Water

You'll notice I don't have any measurements. That is on purpose, and it is because I just just eyeball things with more of the stuff I like, less of the things I don't. For those who want to know approximately how much I used, here it is...

2 Thick, Boneless Pork Chops
4 Peeled and Sliced Tart Apples
3/4 Cup Sugar
2 Tablespoons Flour
1.5 Tablespoons Cinnamon
1/2 Teaspoon Allspice
3/4 Cup Water

*************
Steps to Take:

1) Wash, Peel, and Slice your apples.
 2) Put your Pork Chop in the crock pot and top with everything else.

3) Cook on high for 4 hours or till internal temperature reaches 160 degrees.


4) Plate, Serve, and let your taste buds enjoy!


Saturday, December 10, 2011

Singin' Saturday (Christmas Edition Part 1)

The Holiday season is more than just near – it’s here! These next 2 Saturdays will be filled with Christmas themed songs that you can enjoy sharing with your baby. With a fresh layer of snow on the ground outside it is finally starting to feel like the Holidays are near! Merry Christmas everyone!  


Silent Night 
Silent night, holy night
All is calm, all is bright
Round yon Virgin Mother and Child
Holy Infant so tender and mild
Sleep in heavenly peace


The First Noel 
The First Noel, the Angels did say
Was to certain poor shepherds in fields as they lay
In fields where they lay keeping their sheep
On a cold winter's night that was so deep.
Noel, Noel, Noel, Noel
Born is the King of Israel!


Christmas Don't Be Late
I have only been singing the first verse of this song to baby K, but I included the second verse just in case you wanted to continue singing a little more to your wee-one.
Christmas, Christmas time is near,
Time for toys and time for cheer.
We've been good, but we can't last,
Hurry Christmas, Hurry fast.

Want a plane that loops the loop,
(Alvin:) Me, I want a Hula-Hoop.
(Chipmunks:)
We can hardly stand the wait,
Please Christmas don't be late.

Friday, December 9, 2011

The Bulb Syringe


With having a baby comes the ever daunting task of having to clean their precious little noses out with a bulb syringe.  

Some babies won’t mind you sticking that thing up their nose, while others will absolutely dread it. Right now, (knock on wood) – I’m one of the lucky ones and baby K just kind of stares at me like “Are you sure you know what’s best for me Mama?”

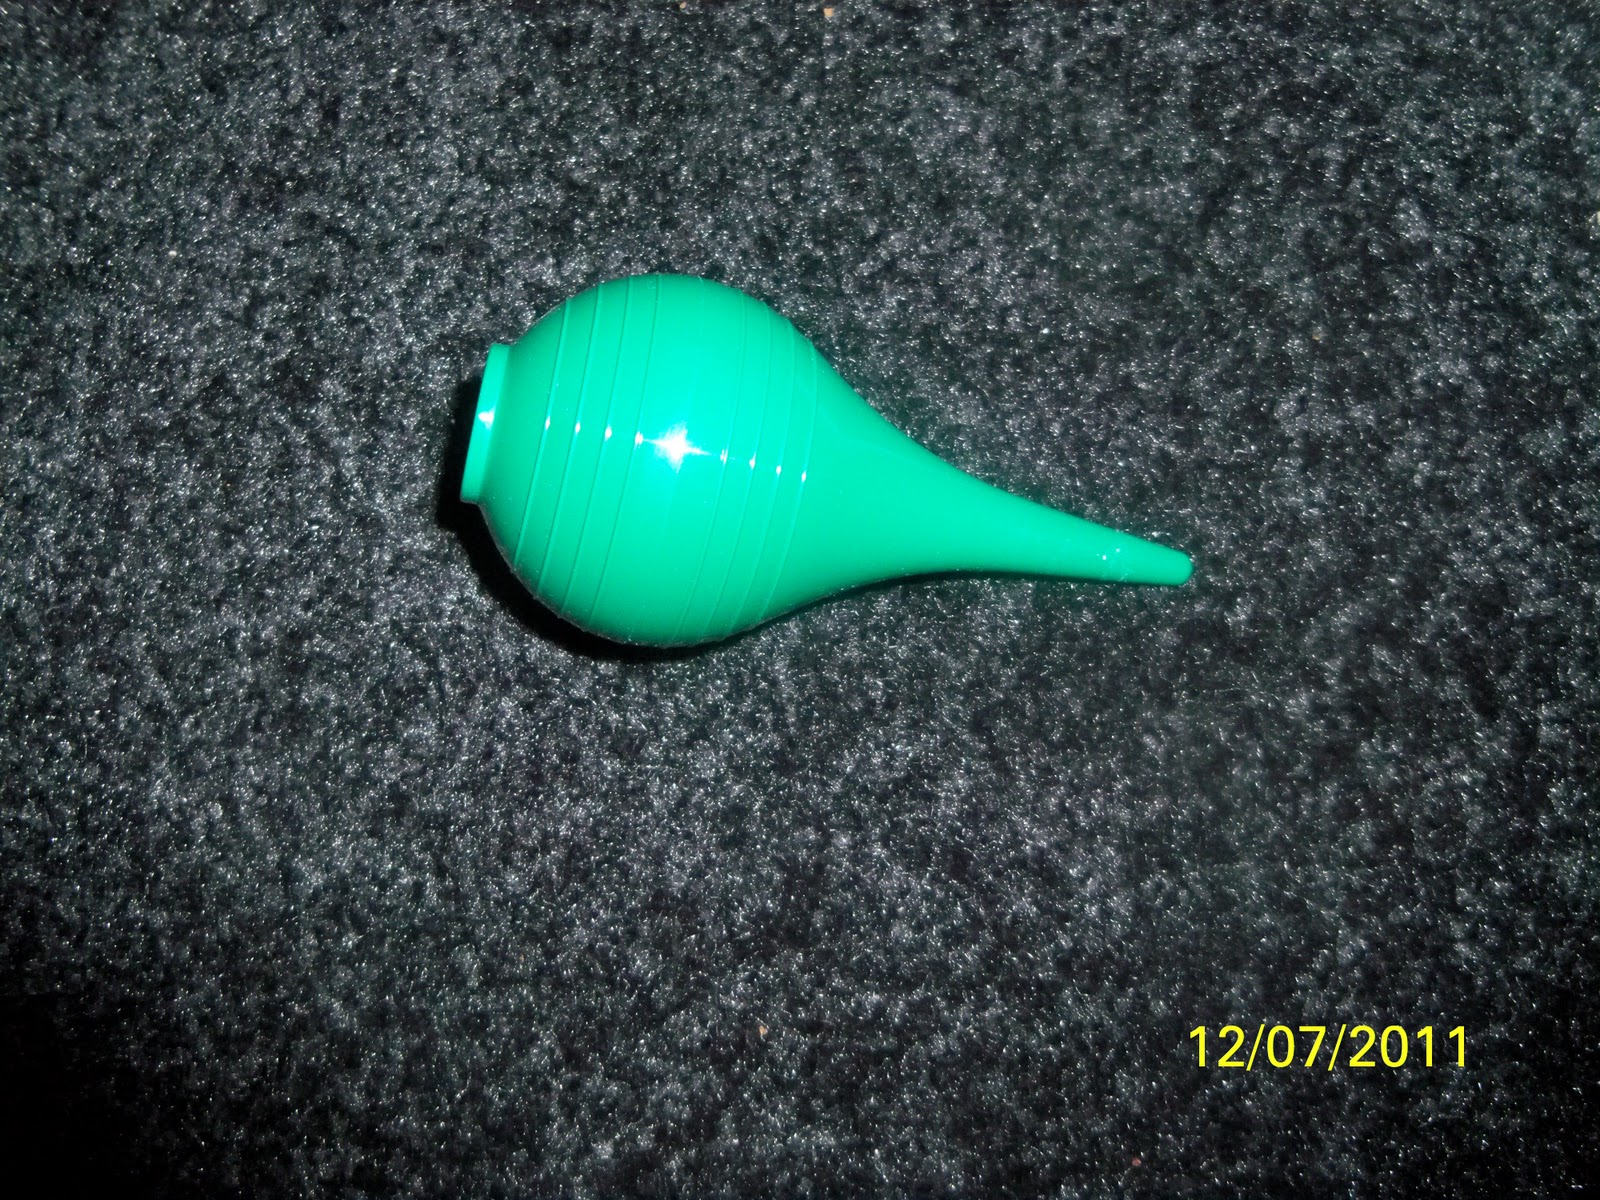
So, it’s a bulb syringe – easy right? You squeeze the bulb; insert it into the baby’s nostril, and release -letting the suction grab up all those disgusting boogers. I’ve discovered by trial and error that there is a right way and a wrong way to using this simple device, and that my friends is the wrong way.

First, let me say that it took me awhile to even entertain the thought of sticking this plastic tube inside my baby’s nose. I had read how you should never stick anything (even the bulb syringe) into a baby’s nose or ears, because it just pushes the gunk up in there farther. However, after my husband had quick success with it one morning, I thought there might be something to this that will get Baby K the relief she needs quickly.

The first few times I tried, it took a very long time for Baby K’s nose to get cleaned out when I just squeezed and released straight into her nose. In fact, I think I stopped trying each of those times because it just wasn’t getting the boogies out, and I swear those things were just getting pushed up there more like I read about it.

Eventually, when she was breathing uncomfortably through her mouth while napping I gave in to trying it again. I held her up in my arms in the kitchen with the bright lights on. Thus, I learned that just going straight in was not doing any good to get the little boogers hanging out right there in her nose. Out of sheer desperation, I pointed the end of the syringe towards the top of her nose where the booger was really hanging on – and after a few attempts I could see that it was being pulled forward! PROGRESS! I was so excited.

I’ve cleaned her nose out several times now, and it only works quickly when I point the syringe towards either the top or bottom of her nostril. If I just go straight in her nose with no direction the boogies just moves further back.

Hope this helps in making your nostril cleaning time much more effective.

Thursday, December 8, 2011

Humidifier for Baby K


Hey Moms! It’s time for another lesson Learned tip: Congestion.
Baby K was making an awful wheezing sound for about a day and a half. It started to sound really bad and was breaking my heart, so I called the doctor. I kind of felt like a paranoid first time mom, but the office actually told me to bring her in later that day. Apparently RSV is going around town. After reading a few very similar articles on RSV, I was afraid that this is what she had.
The doctor took a listen to her chest and smiled saying it is NOT RSV. He recommended we get a humidifier and try some saline spray. Chris is not a fan of nose sprays and refused to spray anything up her nose. (It kind of freaked me out too.)
We did race to Meijer that night and pick up a Vicks Cool Moisture Humidifier and a box of the Pediatric VapoPad refills. I love the smell of Vicks, and since baby K is sleeping in the cradle in our room, I got to enjoy and benefit from it too.
It only took one night and part of the morning for her congested, heartbreaking breathing to become normal and beautiful again.
RSV is very serious for babies. So, don’t worry about feeling silly about calling the doctor if your baby is experiencing a slow on-set of cold like symptoms. Take your baby in and let the doctor listen to her breathing.

Tuesday, December 6, 2011

Print Your Own Gift Tags

I spent some time this morning putting together these cute gift tags for all of us to use! Simply print them with your color printer on cardstock (or any heavier paper) to add just one more personal touch to the gifts you love to give.


And then if you wanted a larger tag on that special package:
The best way I found to print these the correct size was to RIGHT CLICK on the photo and PRINT PICTURE. Colors may vary by printer.

Monday, December 5, 2011

Just Showing Off...


I’m just showing off my two loves with this post. Here Daddy and baby K are checking out the Black Friday ads for the best deals.

Munchin' Monday (is baaaack!)

The EASIEST Mock Tuna Casserole EVER!


This is a favorite in our house with not only my husband and I, but also with both of the exchange students we have hosted in the past. It is so quick and easy to make – I like to keep all the ingredients on hand for those nights when I just don’t feel like cooking anything because there is no cutting and viryually no mess!


Utensils:
Casserole Dish
Can Opener
Colander (optional)


Ingredients:
Chicken Noodle Soup
Tuna
Peas
Egg
Milk
Shredded Colby/Jack Cheese
Original Chips
Salt & Pepper to taste


Directions:
1)      Preheat oven to 425 degrees
2)      Drain Soup, Peas, and Tuna

3)      Mix with the Egg, a touch of Milk, and a little Salt & Pepper <<This should be moist, but not have standing liquid>>

4)      Spread desired amount of Cheese on top of dish

5)      Cover with crumbled Potato Chips

6)      Bake in oven uncovered for 30-35 Minutes <<Cheese should be well melted>>  


And Waa-Laa! Dinner is ready to eat in a snap. 

Christmas Card Fun!

2011 - Christmas Card Project
I’m more artistically challenged than I am creative, but this year (with the help of my mother-in-law) I have decided to craft my own Christmas Cards. It was actually pretty simple, a lot of fun, and after the initial $70 investment in products – not too expensive.

I used all Stampin’ Up Products because my MIL is a demonstrator, and because I’ve seen many wonderful cards made with this brand. If you’d like to order Stampin’ Up for yourself – please do so through her website by CLICKING HERE.  

Supplies:
Pacific Blue Card Stock  
Tempting Turquoise Card Stock
Silver Glimmer Paper
Whisper White Paper
Silver Ribbon *Not Stampin' Up*
Pacific Blue Marker
Black Marker
Orange Marker
Dazzling Detail (bottle)
Snow Much Fun Stamp Set
Christmas Saying *Not Stampin’ Up*
Paper Cutter
Black StazOn Ink
Dot Runner Tape
Tacky Tape (1/4” Wide)
Ribbon Hole Puncher *Not Stampin’ Up*
Scissors
Stampin’ Scrub
Stampin’ Mist
****************
Card “Recipe”:
1) Cut ALL paper products.

I originally started making these as your typical folding card, then realized I needed about 20 more cards than I had enough paper for. So… I made the executive decision to make my cards back-to-back as opposed to the traditional folding card.


Cutting Specks:
Pacific Blue Paper: 4¼ X 5½
 *If you are making one-sided cards –Cut each piece in half.
Tempting Turquoise Paper: 4 X 5¼
Silver Glimmer Paper: 3¼ X 3¼  
Whisper White Paper: 3X3
2)      Stamp Snowman on Whisper White paper

3)      Color Pacific Blue on Hat and Scarf, Basic Black on Boots, and Orange on Nose.
4)      Squeeze a little Dazzling Detail on Snowman’s Buttons, End of his hat, and the snowball.
5)      Border the back of the Whisper White paper with the Tacky Tape and stick to silver glimmer paper.
6)      Punch Ribbon holes in center/bottom of the Turquoise paper.
7)      Cut Ribbon to about the length of the paper.
I didn't think about the ribbon when I was designing the card in my head with my MIL. She thought it would be a nice touch, so we headed to Hobby Lobby and picked up the Ribbon Hole Punch and the Ribbon.
8)      Insert one ribbon end through each hole from the front and then cross them in the back bringing each end through the other side.


9)      Border the back of the Glimmer paper with dot runner and stick to top portion of the Tempting Turquoise.


10) Border the Turquoise Paper with dot runner and stick to Pacific Blue Card Stock Paper.
11)   Stamp Message on the upper backside of Pacific Blue paper.

I used a message stamp that my mom bought me from Hobby Lobby, but you can use any message stamp you’d like – Stampin’ Up has some great ones. You can actually see in the "supplies" photo that I originally had "Hope Your Christmas is Snow Much Fun" (included in stamp set) under the snowman picture, but I changed it when I discovered I needed more paper.

12)   Sign Card, Place in Envelope, Apply Postage and let it bring a smile to someone’s face!

Sunday, December 4, 2011

Singin' Saturday (On Sunday)

I appologize for my tardiness... Motherhood is kicking my butt at the moment, and I guess I've been on some-what of an emotional rollercoaster.

1 2 Buckle My Shoe

1, 2, Buckle my shoe.
3, 4 Shut the door.
5, 6 Pick up sticks.
7, 8 Lay them straight.
9, 10 A big fat hen!

Tuesday, November 29, 2011

Incision Care

Between the Holiday and trying to get my incision to close-up and stop bleeding I have become rather lax with the postings. I will have a couple posts up and ready to be read tonight, but I thought I would take a break from the mountain of laundry that has accumulated to share a little tip when your incision from a c-section refuses to heal.

I have had several stitches pop out of the skin and lots of bleeding and a little clear liquid draining from the incision over the course of the last 7 weeks. The ends of the incision look dark purple and have been very tender. I've tried to be good and stay off my feet, but as a new mother I've found this is impossible with just the newborn (forget having more running around the house). It is even more impossible to not wobble around the house trying to keep things somewhat presentable when the husband works 12-16 hours days, and you hate to ask him to do more work after working so hard all day.

The problem with the incision is that the scab keeps getting torn off and thus we have more bleeding. I have put gauze pads over the ends to keep my under garments and jeans from peeling the scab away, and tried bandages (remember, band-aid is a brand, haha) - put then they just got pressed into the sore and it would get moist and open up - then it would dry with the gauze and pad stuck to it, and this gave a quick, but painful sensation when trying to get it off... (FYI: Drip some water on the gauze or bandage if the wound dries to it.)

The thing I found this weekend that works best is to let it air dry completely (like you have been doing hopefully) and then fold a paper towel and tuck that into your undergarments so it covers the incision loosely. I think this has worked the best for me because it allows the wound to breathe more even when your dressed, and it keeps it protected at the same time. Plus, the dried blood doesn't cause the paper towel to stick to the wound!

I have been closed up with no drainage for almost three days now and (hopefully) counting!

Monday, November 21, 2011

Belly Sleeping


Over the past few weeks that I’ve been a mother, I couldn’t help but notice that my baby girl wasn’t exactly sleeping soundly. She fussed so much while sleeping that I had to admit it was no surprise that her beautiful little eyes just looked red and tired all the time. She sleeps perfectly restful on our chests and cuddled tightly into our side when we take a nap beside her during the day.

The hubby and I have a strict no sleeping in the bed with us policy that while a night here or there won’t make it a habit; it’s not a move we are willing to make for her safety! (Big toss and turners with a tiny baby between them…could spell disaster.) In the middle of the night last week I was so tired that after several attempts to put my seemingly sleeping baby into her cradle and then getting her out again after she was being fussy I put her on her stomach in my bed while I stretched, took a gulp of my water, and rearranged my pillows so I could sleep sitting up with her on my chest. By the time I got in bed and went to pick her up I noticed that she was sleeping more peacefully than I had ever seen her sleep.

With ease I transferred her to the cradle and she stirred for a moment and then drifted right back to sleep. I know the risks of putting her to sleep on her tummy, so I have only tried it a few times just to see if she really does sleep more soundly.

Yes she does.

However, it is because I know the risks and I know that the SIDS rate dropped after the “Back to Sleep” campaign was established that I’m not going to bask in the enjoyment of giving her long peaceful sleeping nights just yet. When swaddling fails me and she remains fussy, I’m only going to allow myself to put her to sleep on her tummy when I am way beyond the point of just being tired, and need sleep to keep my sanity. I think it is also important to point out that even when she is sleeping peacefully, I am still climbing out of bed multiple times a night to check that she has not buried her face in the mattress, put her limbs through the railing of the crib, and just overall making sure she is safe. So while she may sleep better, as her mother, I’m not always getting that same benefit.

Saturday, November 19, 2011

Singing Saturday

I'm a Little Teapot

I'm a little teapot, short and stout
Here is my handle
(one hand on hip), here is my spout (other arm out straight)
When I get all steamed up, hear me shout
Just tip me over and pour me out
!
(As song ends, lean over and tip arm out like a spout.)

I'm a clever teapot, yes it's true
Here's an example of what I can do
I can change my handle to my spout
(Switch arm positions and repeat tipping motion.)
Just tip me over and pour me out.


Monday, November 14, 2011

Muchin' Monday


Chicken and Broccoli Rolls:
Mmm… a real treat coming late today. This is a great dinner that turns leftovers into a quick and simple snack! It takes minutes to prepare and even less time to cook. I am posting this as though the Chicken is already cooked and shredded (Following Post has Chicken preparation directions).

Utensils:
Knife
Cutting Board
Measuring Cups/Spoons
Medium Sized Bowl
Mixing Spoon
Cookie Sheet
Baggie (for leftovers)

Ingredients:
1 Cup Shredded Chicken
½ Cup Broccoli (finely chopped)
½ Cup Carrots (finely chopped)
½ Cup Mayonnaise
1 tsp Garlic
½ tsp Dill Weed
1 pkg Crescent Rolls   

Directions:
This is your already prepared Chicken.
1>      Preheat Oven to 375*.
2>     Cut Broccoli and Carrots. (I use organic shredded carrots and then just chop into pieces.)

3>     Mix Chicken, Broccoli, Carrots, Mayo, Garlic, and Dill Weed in bowl.


4> Unroll Crescent Rolls onto cookie sheet.
5> Put Large spoonful of mixture on each piece and roll.
6> Bake for 12-14 Minutes or till golden brown.

  Notes:
                Put leftovers in baggie and warm in the microwave (if desired) for an awesome snack over the next couple days. I’m usually big on freezer meals and snacks – but you really shouldn’t freeze anything containing Mayonnaise.

If you have leftover mixture like I always do the mixture tastes great on those mini-sandwich thins as a nice lunch item.


I like to serve with a healthy salad and diced potatoes.


Saturday, November 12, 2011

Bumble Bee, Bumble Bee

Bumble Bee, Bumble Bee


Bumble bee, bumble bee.

Straight from the farm.

Bumble bee, bumble bee.

Flies under your arm.

To help make this more enjoyable for both you and your baby – simply use your finger to simulate a flying bee, and then give your baby a little tickle under their arm at the end.

Friday, November 11, 2011

The Goodwill Steal


Like many-a frugal persons, I have no qualms about releasing my fashion nose in a search and rescue dog style within the walls of the local Goodwill store. We have an outlet shop here in town, and I can’t tell you how many $80+ dollar Ann Taylor skirts that I bought for only a mere $1.50 on Half Off Saturdays.

But this post isn’t about skirts, no It’s about buying a few good, decent jeans to wear post-pregnancy. Since I still have a hard time (that’s right, only a hard time) fitting in to my size 2 pre-pregnancy jeans I had to go shopping because the maternity pants were sagging to my knees with no belly to help hold them up.

I had to buy size 8 jeans (which I am in no way upset about, I think it’s a wonderful thing actually – perfect size).

It took me about an hour to realize I needed the size 8’s, but after I realized this I went to TOWN! But, I guess I’ll stop teasing you and tell you about my steal of a deal…

Due to spending way too much time at the Goodwill, I have noticed that if a brand is at the Outlet Mall and “popular” - the store automatically puts a “boutique” tag on it… (I once passed a J. Crew tank top with a HOLE in it marked at $7.00) – This has helped me out so much, but I was extra happy to find this deal! ….

I had a pair of Old Navy jeans that were marked up to $9.00 as a “boutique” item. I also had a pair of Banana Republic jeans…not marked up… hmm… and the Old navy pair had a stain on the back pocket (which my husband pointed out when I rambled how I couldn’t believe the BR jeans were not “boutique”… but I won’t complain.) I bought a pair of $80 jeans that honestly look brand-new not even washed for $3.50. I LOVE it.

My Baby Has Boobs!!


No, those aren’t cute little chubby fat rolls you see protruding from Baby K’s chest…Those are boobies. Apparently caused by my hormones, but YES - My newborn baby does in fact have boobs. ANNND, they leak milk. (Wonderful, right?)

The Pediatrician said that the boobs are fine, and NOT to do anything unless they become red or seem irritated, like when they start leaking. (Which has happened twice!) It is important to put a warm compress on her…*gulp*… breasts… when they start leaking or become red and hot to the touch. This is because even she (and MALE babies) can be at risk for the same enemy of the boob…Mastitis. So be SURE to call the Doctor if this happens.

You did read that right, boobs and leaky boobs are even common in male babies as well, so don’t freak out if you have a boy dripping a drop or two of milk from time to time. Here is a link to get more information:


I almost wanted to give up...

Yesterday was a tough one. Baby K was cluster feeding most of the day. Every hour and a half she was nursing and my nipples were starting to get sore. At around 11pm I told her that if she continues eating this often Mommy is going to have to feed her a bottle with…… dundundun…formula! Thankfully she went from 11:30 to 4:30 and even then I had to wake her up for a feeding, but she only nursed for a few minutes before going back to a deep sleep. I tried to feed her again at 7:30 and she woke up somewhat to eat and then was just content starring at the wall.

So, I don’t truly plan on giving up (nor did I relly want to), but I may have been broken had she continued cluster feeding the entire night as well. Today is a new day, and I’m back and ready to go.