Thursday, December 8, 2011

Humidifier for Baby K


Hey Moms! It’s time for another lesson Learned tip: Congestion.
Baby K was making an awful wheezing sound for about a day and a half. It started to sound really bad and was breaking my heart, so I called the doctor. I kind of felt like a paranoid first time mom, but the office actually told me to bring her in later that day. Apparently RSV is going around town. After reading a few very similar articles on RSV, I was afraid that this is what she had.
The doctor took a listen to her chest and smiled saying it is NOT RSV. He recommended we get a humidifier and try some saline spray. Chris is not a fan of nose sprays and refused to spray anything up her nose. (It kind of freaked me out too.)
We did race to Meijer that night and pick up a Vicks Cool Moisture Humidifier and a box of the Pediatric VapoPad refills. I love the smell of Vicks, and since baby K is sleeping in the cradle in our room, I got to enjoy and benefit from it too.
It only took one night and part of the morning for her congested, heartbreaking breathing to become normal and beautiful again.
RSV is very serious for babies. So, don’t worry about feeling silly about calling the doctor if your baby is experiencing a slow on-set of cold like symptoms. Take your baby in and let the doctor listen to her breathing.

Tuesday, December 6, 2011

Print Your Own Gift Tags

I spent some time this morning putting together these cute gift tags for all of us to use! Simply print them with your color printer on cardstock (or any heavier paper) to add just one more personal touch to the gifts you love to give.


And then if you wanted a larger tag on that special package:
The best way I found to print these the correct size was to RIGHT CLICK on the photo and PRINT PICTURE. Colors may vary by printer.

Monday, December 5, 2011

Just Showing Off...


I’m just showing off my two loves with this post. Here Daddy and baby K are checking out the Black Friday ads for the best deals.

Munchin' Monday (is baaaack!)

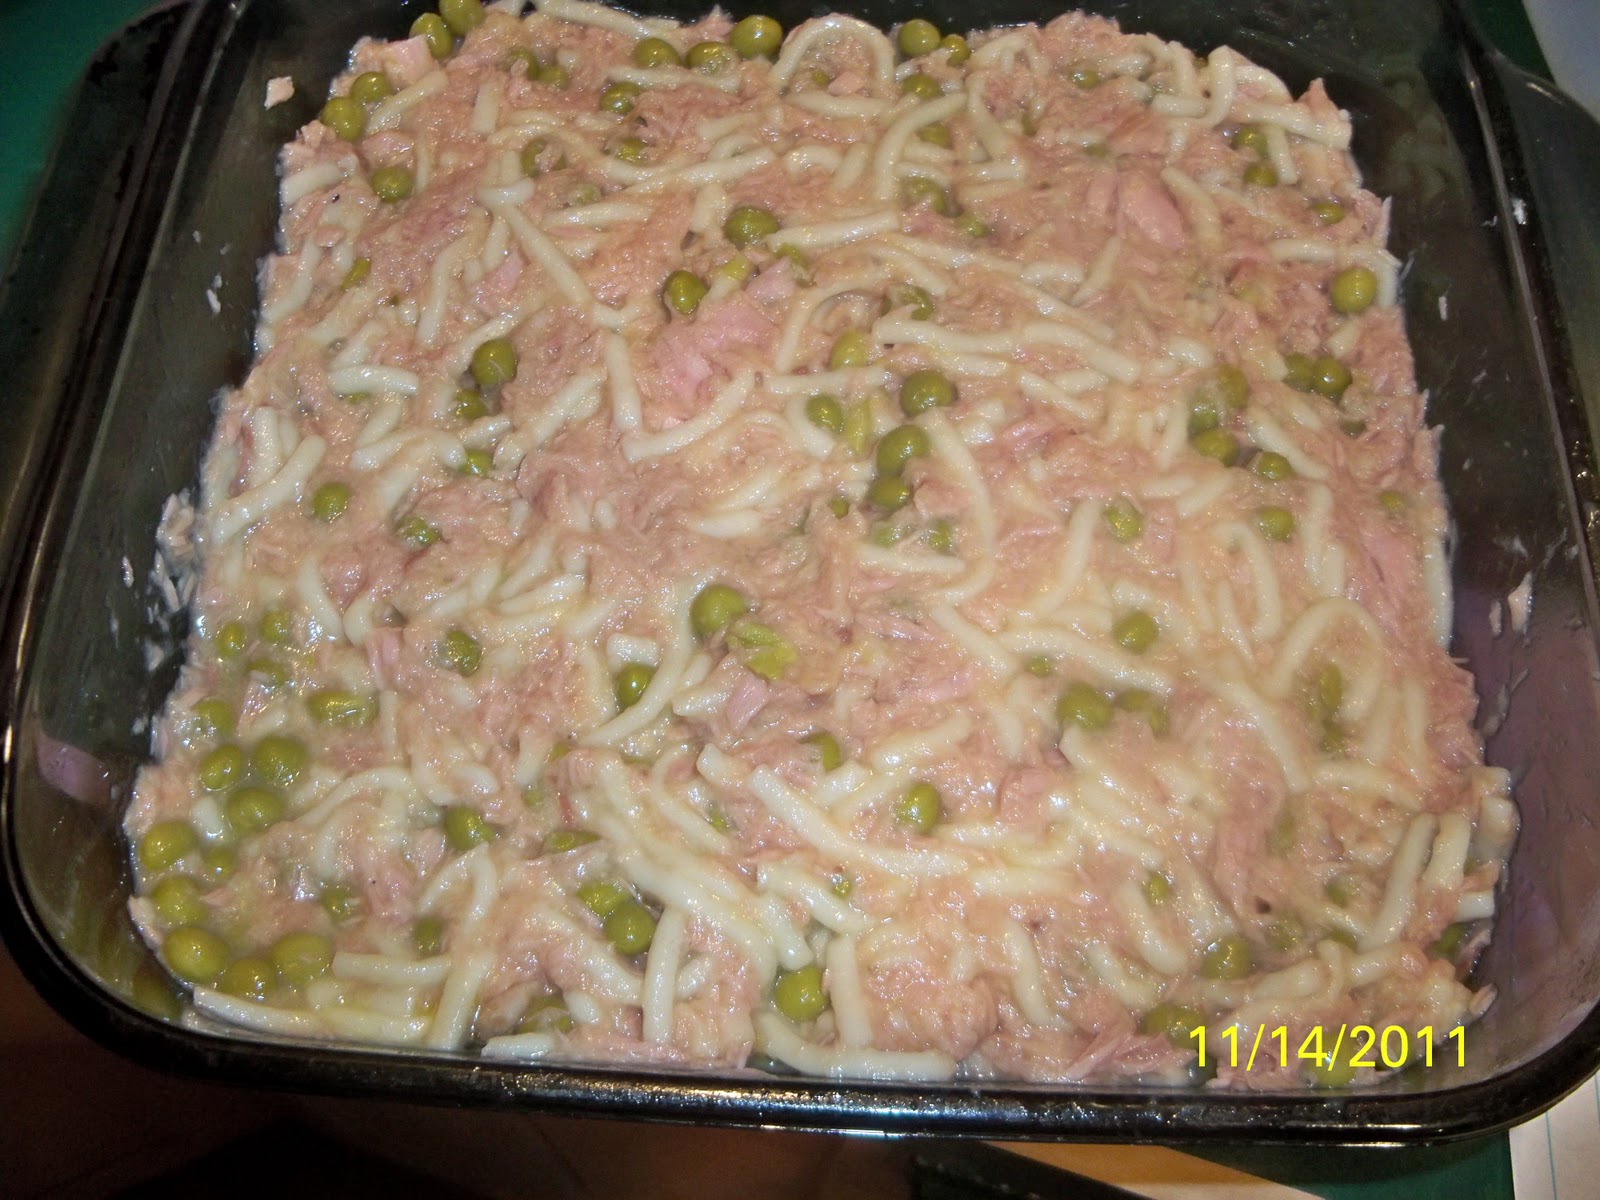
The EASIEST Mock Tuna Casserole EVER!


This is a favorite in our house with not only my husband and I, but also with both of the exchange students we have hosted in the past. It is so quick and easy to make – I like to keep all the ingredients on hand for those nights when I just don’t feel like cooking anything because there is no cutting and viryually no mess!


Utensils:
Casserole Dish
Can Opener
Colander (optional)


Ingredients:
Chicken Noodle Soup
Tuna
Peas
Egg
Milk
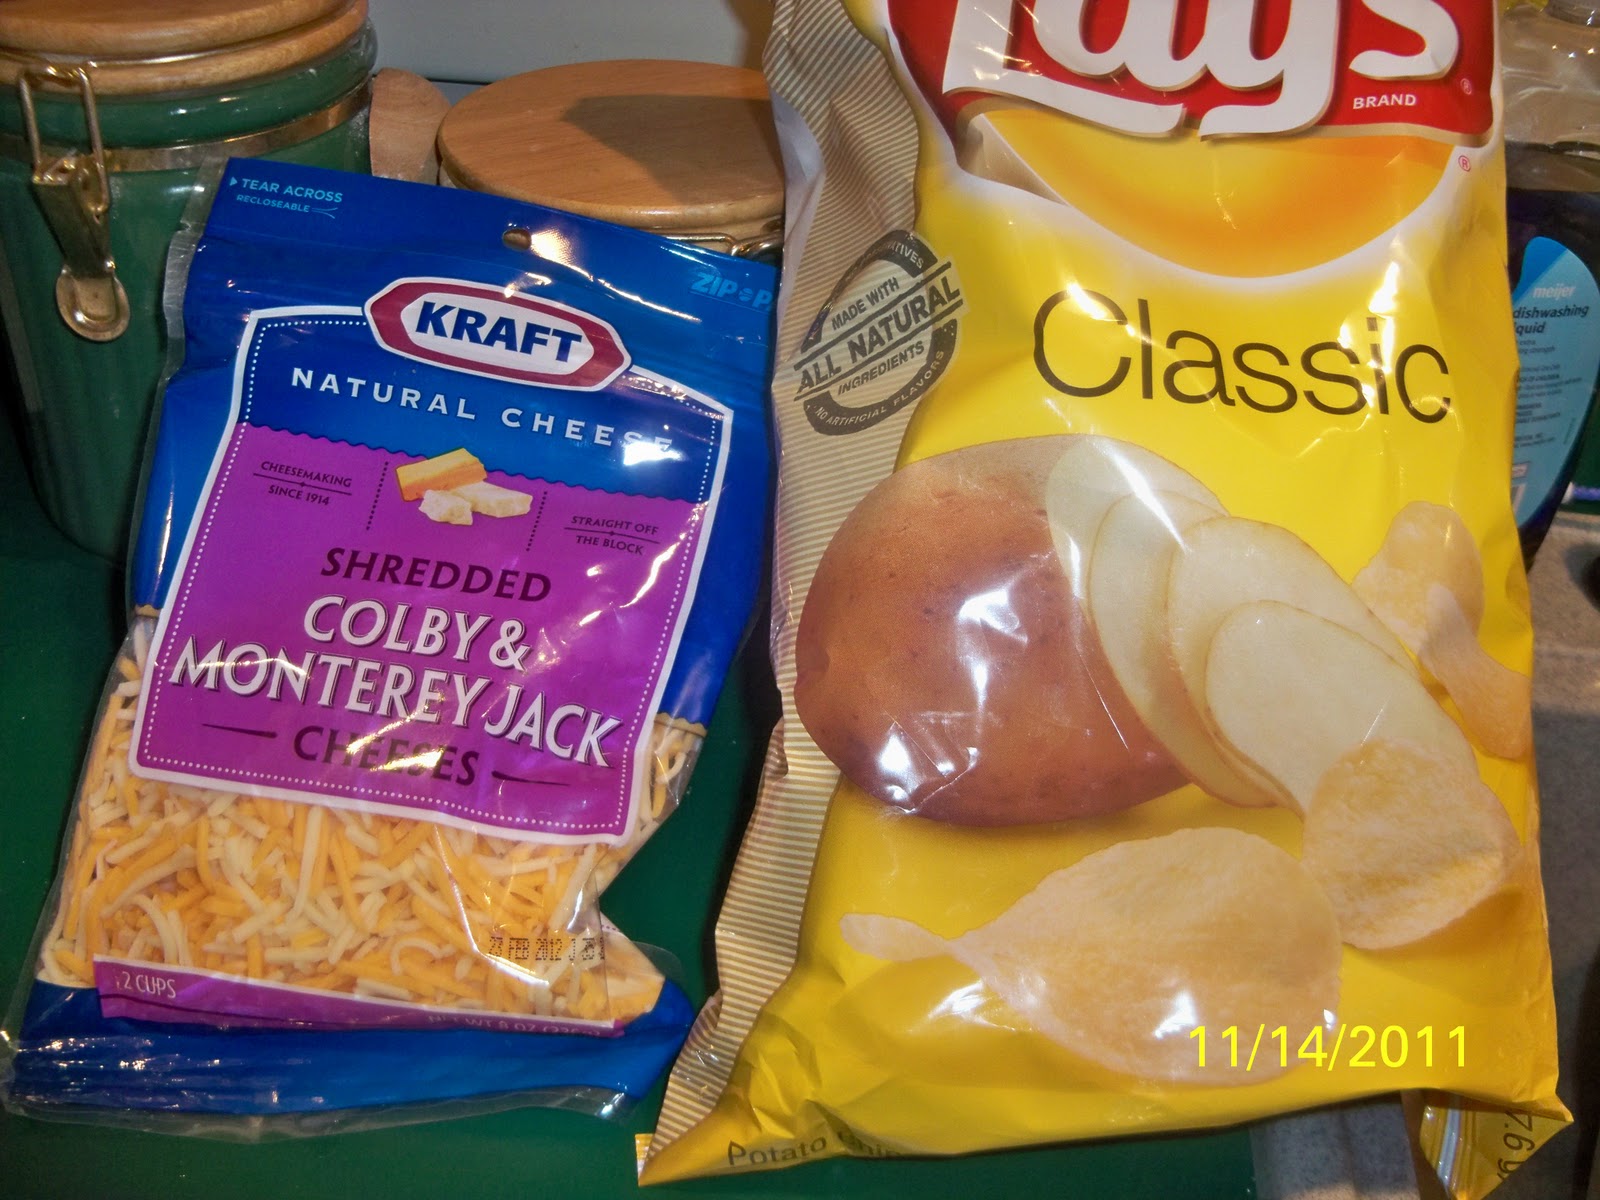
Shredded Colby/Jack Cheese
Original Chips
Salt & Pepper to taste


Directions:
1)      Preheat oven to 425 degrees
2)      Drain Soup, Peas, and Tuna

3)      Mix with the Egg, a touch of Milk, and a little Salt & Pepper <<This should be moist, but not have standing liquid>>

4)      Spread desired amount of Cheese on top of dish

5)      Cover with crumbled Potato Chips

6)      Bake in oven uncovered for 30-35 Minutes <<Cheese should be well melted>>  


And Waa-Laa! Dinner is ready to eat in a snap. 

Christmas Card Fun!

2011 - Christmas Card Project
I’m more artistically challenged than I am creative, but this year (with the help of my mother-in-law) I have decided to craft my own Christmas Cards. It was actually pretty simple, a lot of fun, and after the initial $70 investment in products – not too expensive.

I used all Stampin’ Up Products because my MIL is a demonstrator, and because I’ve seen many wonderful cards made with this brand. If you’d like to order Stampin’ Up for yourself – please do so through her website by CLICKING HERE.  

Supplies:
Pacific Blue Card Stock  
Tempting Turquoise Card Stock
Silver Glimmer Paper
Whisper White Paper
Silver Ribbon *Not Stampin' Up*
Pacific Blue Marker
Black Marker
Orange Marker
Dazzling Detail (bottle)
Snow Much Fun Stamp Set
Christmas Saying *Not Stampin’ Up*
Paper Cutter
Black StazOn Ink
Dot Runner Tape
Tacky Tape (1/4” Wide)
Ribbon Hole Puncher *Not Stampin’ Up*
Scissors
Stampin’ Scrub
Stampin’ Mist
****************
Card “Recipe”:
1) Cut ALL paper products.

I originally started making these as your typical folding card, then realized I needed about 20 more cards than I had enough paper for. So… I made the executive decision to make my cards back-to-back as opposed to the traditional folding card.


Cutting Specks:
Pacific Blue Paper: 4¼ X 5½
 *If you are making one-sided cards –Cut each piece in half.
Tempting Turquoise Paper: 4 X 5¼
Silver Glimmer Paper: 3¼ X 3¼  
Whisper White Paper: 3X3
2)      Stamp Snowman on Whisper White paper

3)      Color Pacific Blue on Hat and Scarf, Basic Black on Boots, and Orange on Nose.
4)      Squeeze a little Dazzling Detail on Snowman’s Buttons, End of his hat, and the snowball.
5)      Border the back of the Whisper White paper with the Tacky Tape and stick to silver glimmer paper.
6)      Punch Ribbon holes in center/bottom of the Turquoise paper.
7)      Cut Ribbon to about the length of the paper.
I didn't think about the ribbon when I was designing the card in my head with my MIL. She thought it would be a nice touch, so we headed to Hobby Lobby and picked up the Ribbon Hole Punch and the Ribbon.
8)      Insert one ribbon end through each hole from the front and then cross them in the back bringing each end through the other side.


9)      Border the back of the Glimmer paper with dot runner and stick to top portion of the Tempting Turquoise.


10) Border the Turquoise Paper with dot runner and stick to Pacific Blue Card Stock Paper.
11)   Stamp Message on the upper backside of Pacific Blue paper.

I used a message stamp that my mom bought me from Hobby Lobby, but you can use any message stamp you’d like – Stampin’ Up has some great ones. You can actually see in the "supplies" photo that I originally had "Hope Your Christmas is Snow Much Fun" (included in stamp set) under the snowman picture, but I changed it when I discovered I needed more paper.

12)   Sign Card, Place in Envelope, Apply Postage and let it bring a smile to someone’s face!

Sunday, December 4, 2011

Singin' Saturday (On Sunday)

I appologize for my tardiness... Motherhood is kicking my butt at the moment, and I guess I've been on some-what of an emotional rollercoaster.

1 2 Buckle My Shoe

1, 2, Buckle my shoe.
3, 4 Shut the door.
5, 6 Pick up sticks.
7, 8 Lay them straight.
9, 10 A big fat hen!

Tuesday, November 29, 2011

Incision Care

Between the Holiday and trying to get my incision to close-up and stop bleeding I have become rather lax with the postings. I will have a couple posts up and ready to be read tonight, but I thought I would take a break from the mountain of laundry that has accumulated to share a little tip when your incision from a c-section refuses to heal.

I have had several stitches pop out of the skin and lots of bleeding and a little clear liquid draining from the incision over the course of the last 7 weeks. The ends of the incision look dark purple and have been very tender. I've tried to be good and stay off my feet, but as a new mother I've found this is impossible with just the newborn (forget having more running around the house). It is even more impossible to not wobble around the house trying to keep things somewhat presentable when the husband works 12-16 hours days, and you hate to ask him to do more work after working so hard all day.

The problem with the incision is that the scab keeps getting torn off and thus we have more bleeding. I have put gauze pads over the ends to keep my under garments and jeans from peeling the scab away, and tried bandages (remember, band-aid is a brand, haha) - put then they just got pressed into the sore and it would get moist and open up - then it would dry with the gauze and pad stuck to it, and this gave a quick, but painful sensation when trying to get it off... (FYI: Drip some water on the gauze or bandage if the wound dries to it.)

The thing I found this weekend that works best is to let it air dry completely (like you have been doing hopefully) and then fold a paper towel and tuck that into your undergarments so it covers the incision loosely. I think this has worked the best for me because it allows the wound to breathe more even when your dressed, and it keeps it protected at the same time. Plus, the dried blood doesn't cause the paper towel to stick to the wound!

I have been closed up with no drainage for almost three days now and (hopefully) counting!